Your product deserves the crisp, studio-perfect look of a professional 3D render, but you don't have months to learn Blender or thousands to spend on CGI artists. What if you could create 3D product images without software, transforming ordinary photos into CGI-quality visuals in just minutes?
This revolutionary approach uses AI to synthesize the visual characteristics of professional 3D renders—hard-clean edges, perfect lighting, and flawless materials—while preserving your product's exact geometry and branding details. The result? CGI polish at content creation speed.
Traditional 3D rendering pipelines demand extensive technical knowledge, expensive software, and significant time investment. This method flips that equation entirely, delivering professional results through smart AI processing of your existing product photos.
Why This Method Revolutionizes Product Photography - Almost
The Traditional 3D Challenge
Classic 3D render workflows involve modeling, materials, lights, cameras, and countless technical details. Professional results require months of training and specialized software that costs hundreds monthly.
Gemini 2.5 Flash Image takes a completely different approach. Instead of building 3D models from scratch, it analyzes your real product photos and recreates them with the visual polish of professional CGI work.
Speed Meets Quality
This technique delivers CGI-quality results at content creation speed. You maintain complete control over your product's appearance while eliminating the technical barriers that traditionally separate amateur and professional product imagery.
The AI understands how to create those perfect studio lighting conditions, flawless surface treatments, and razor-sharp edges that make products look premium and professional.
Essential Equipment for Creating 3D Product Images Without Software
Core Technical Requirements
You need access to Gemini 2.5 Flash Image through either Gemini Chat or Google AI Studio. This AI model specifically excels at understanding product geometry and recreating professional rendering characteristics.
Your camera setup can be surprisingly simple. Any recent smartphone or basic DSLR works perfectly. The technique prioritizes proper shooting methodology over expensive equipment.
Lighting and Environment Setup
Soft, even lighting trumps everything else. Use diffused window light with a reflector, or invest in two basic softboxes for consistent results. Harsh shadows and hotspots will transfer directly to your final renders.
Create a clean shooting environment with a sweep or tabletop setup. Use lint-free cloth to eliminate dust and debris that the AI will faithfully reproduce in your final images.
Pro-Level Organization
Use descriptive filenames like "product_front.jpg" and "product_label_closeup1.jpg". This organization becomes crucial when managing multiple reference shots and iterating on results.
Consider optional upgrades like a tripod for consistency and a circular polarizer for glossy packaging. These tools improve your reference quality, which directly impacts final render quality.
The Six-Shot Reference Foundation
Essential Angle Collection
Start with a straight-on front view that clearly shows your product's primary face. This becomes your geometric reference point for all AI processing.
Capture 45-degree left and right angles next. These views provide crucial three-dimensional information that helps the AI understand your product's form and proportions accurately.
Add a pure side profile, top-down overhead shot, and back view if your packaging contains important information. Even if you only use one angle in final marketing, comprehensive references improve overall quality.
Critical Detail Documentation
Fill your frame completely with label closeups, logos, and text elements. The AI uses these ultra-sharp reference images to recreate typography and branding with pixel-perfect accuracy.
Document texture and material properties through dedicated shots. Capture the difference between matte and glossy finishes, foil stamps, embossing, or any special surface treatments.
Photograph special features like caps, seams, zippers, or security seals. These distinctive elements often make products instantly recognizable and memorable to customers.
Process to Create 3D Product Images with Nano Banana
Upload Strategy and Setup
Access Gemini 2.5 Flash Image and select image editing/generation mode. Upload your complete reference set in a single session—angles plus detail shots together.
Verify image sharpness and text legibility before proceeding. If label text appears small or unclear, add an additional ultra-closeup focused solely on typography. This dramatically improves final text fidelity.
The AI analyzes relationships between images more effectively when processing them simultaneously rather than in separate sessions.
The Master Prompt Framework
Use this proven prompt structure after uploading your complete reference set:
"Create a high-fidelity 3D-render-style image of the product using the attached multi-angle photos as references."
Then specify exact visual style requirements: photoreal CGI appearance with physically-based materials, professional studio lighting, and perfectly clean edges. Request minimal hotspots and uniform surfaces throughout. Include critical technical specifications: square 2000×2000 pixel output, sRGB color profile, pure white background, and centered product filling 85-90% of the frame.
Here's a more detailed prompt you can use:
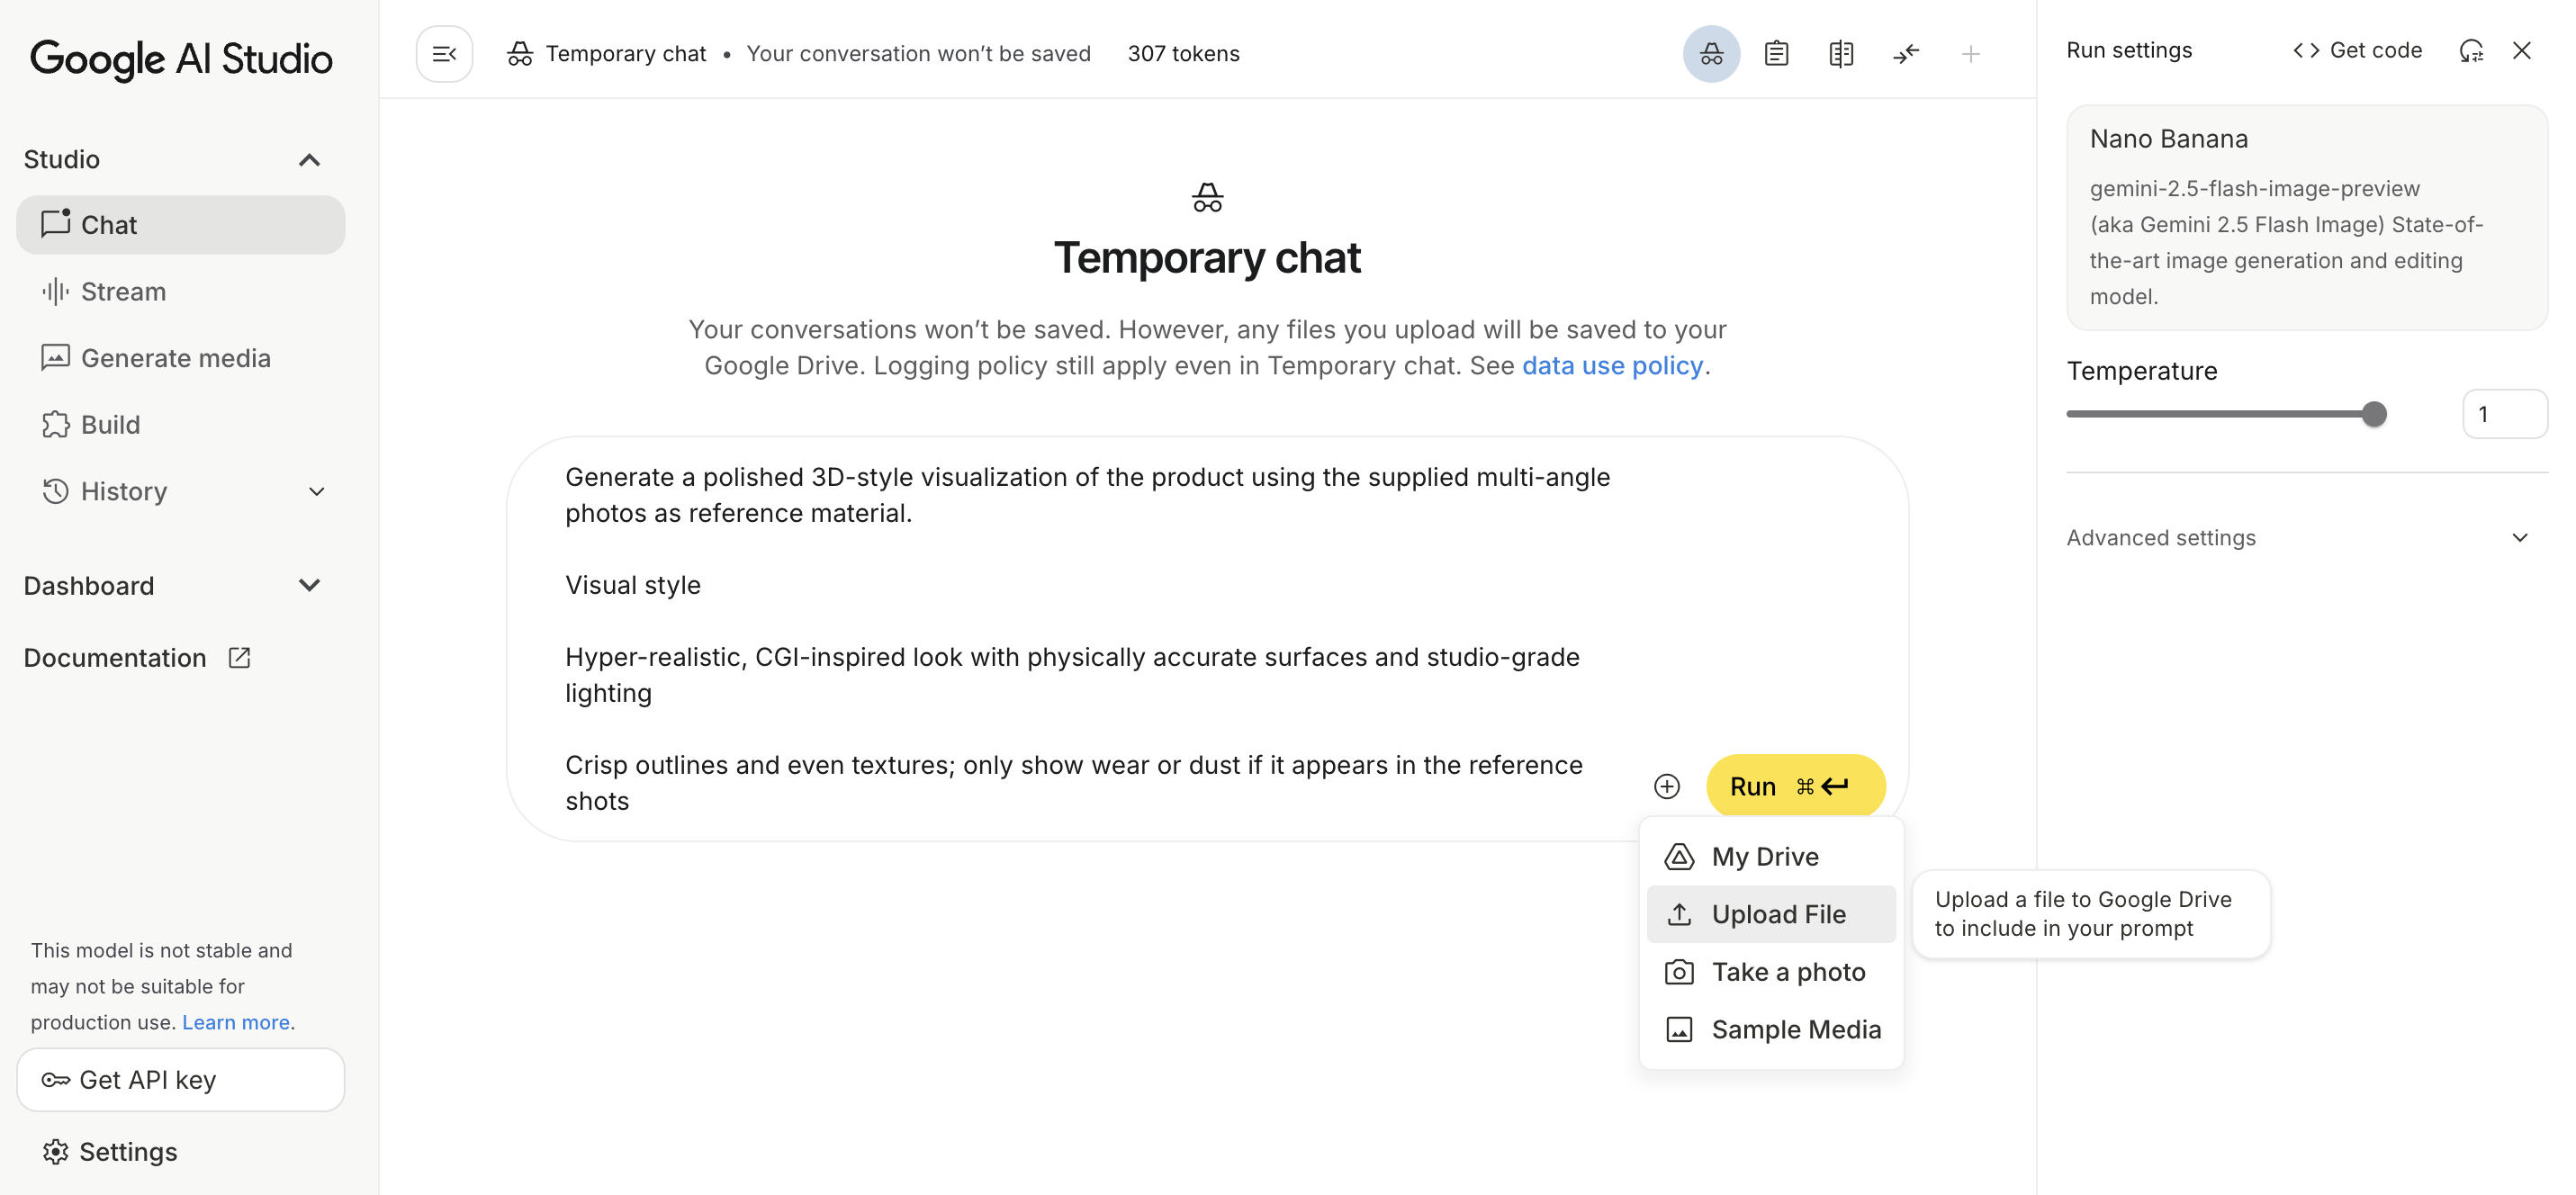
"Generate a polished 3D-style visualization of the product using the supplied multi-angle photos as reference material.
Visual style
- Hyper-realistic, CGI-inspired look with physically accurate surfaces and studio-grade lighting
- Crisp outlines and even textures; only show wear or dust if it appears in the reference shots
Output specifications
- Square canvas: 2000 × 2000 px, sRGB color space
- Background: pure white (#FFFFFF), no horizon line or additional props
- Product centered and scaled to occupy roughly 85–90% of the frame
- Include a natural, soft shadow beneath the product so it appears grounded, not floating
- Deliverables: one PNG with transparent background and one JPEG on white
Accuracy requirements
- Replicate all packaging details and labels exactly as seen in close-up photos — no changes, substitutions, or reinterpretations of text
- Maintain correct proportions and structural details such as silhouette, cap width, and seams
- Accurately reflect surface qualities (matte, glossy, metallic foil, embossing)
Lighting and camera guidelines
- Neutral studio lighting: soft main light from the top-left with a gentle fill from the front
- Keep highlights subtle and avoid harsh specular spots
- Use a product-style focal length (approx. 50–85 mm equivalent) to prevent wide-angle distortion
Reference hierarchy
- If input photos differ, prioritize label close-ups for text accuracy, and front plus 45° views for overall shape and geometry."
Here's the input:

And here's a first output with no refinements:

Fidelity and Accuracy Controls
Explicitly instruct the AI to reproduce all label text and artwork exactly as shown in your closeup references. Specify "do not retype, redesign, or paraphrase text elements" to prevent creative interpretation.
Request precise preservation of geometry and proportions from your front and 45-degree reference views. Demand exact matching of material finishes including matte versus gloss treatments and metallic effects.
Establish reference priority hierarchy: label closeups for text accuracy, front and 45-degree angles for geometry, and additional angles for surface finish verification.
Advanced Refinement Techniques
Single-Purpose Micro-Adjustments
Start with your comprehensive base prompt first. Only after receiving initial results should you make targeted refinements, addressing one specific element per iteration.
For edge quality improvements, request "improved edge anti-aliasing across all outer contours while keeping scale, framing, and color unchanged." This maintains overall composition while enhancing professional polish.
Shadow refinement comes next: "increase contact shadow density under the base by approximately 15% with soft falloff, avoiding hard cut-out edges." This grounds your product naturally.
Material and Surface Corrections
Address finish accuracy with specific requests like "reduce plastic specular glare by 20% and increase micro-roughness for a satin look." Reference your original photos for exact finish matching.
For glossy products, request controlled highlight positioning to minimize unwanted reflections while maintaining dimensional depth and premium appearance.
Typography sharpening requires targeted attention: "sharpen all label typography and vector edges, cross-checking against the label closeup without altering wording or kerning."
Quality Control Standards
Professional Assessment Checklist
Examine edges for cleanliness and absence of stair-stepping or halos. Professional renders feature perfectly smooth contours that separate cleanly from backgrounds.
Evaluate shadow realism through soft contact shadows with natural falloff. Avoid the "floating sticker" appearance that immediately identifies amateur digital work.
Verify text accuracy character by character against your reference photos. Check spelling, spacing, and barcode crispness for scannable appearance.
Color and Finish Validation
Confirm material finishes match reality exactly. Matte surfaces shouldn't display plastic-like shine unless intentional. Glossy elements should reflect light appropriately without looking artificial.
Validate brand colors appear accurate in sRGB color space. Label colors should match your original packaging exactly, maintaining brand consistency across all applications.
Check geometric proportions against reference photos. Cap-to-neck-to-body ratios must remain true to your actual product dimensions.
Delivery Formats and Variants
Master File Creation
Export your hero angle in both 2000×2000 JPEG on white background and PNG with transparent background. This provides flexibility for different platform requirements and future applications.
Create an alternate angle version matching your opposite 45-degree reference for marketplace galleries and comprehensive product presentations.
Generate multiple crop ratios from your master file: 1:1 for social feeds, 4:5 for marketplace requirements, and 16:9 for website banners and promotional materials.
File Management and Future-Proofing
Retain your complete prompt log and reference photo set for future updates and variations. This enables consistent results when expanding product lines or updating packaging.
Export JPEGs at 85-92% quality to balance sharpness with reasonable file sizes. Reserve PNG format for contexts requiring transparency or further editing.
Consider creating multiple lighting variations from the same reference set for seasonal campaigns or different marketplace requirements.
Transform Your Product Visuals
Learning to create 3D product images without software opens unlimited possibilities for professional product presentation. You now possess the knowledge to generate stunning CGI-quality visuals that rival expensive studio photography and traditional 3D rendering workflows.
Your products deserve to look their absolute best across all marketing channels. Whether you're launching e-commerce listings, creating social media content, or developing promotional materials, this technique provides a significant competitive advantage through superior visual quality.
Read more about marketing strategies for e-commerce and DTCs on the Admetrics blog.
Frequently Asked Questions
Here are 10 in-depth FAQs based on the article regarding creating 3D product images using AI.
1. How does this AI method actually create a "3D look" without generating a 3D model?
Traditional CGI creates a digital, geometric skeleton (a mesh) and drapes textures over it. This AI method, using Gemini 2.5 Flash Image, acts as an advanced visual synthesizer. Instead of building geometry, it analyzes the pixels of your reference photos to understand the object's form, lighting, and texture. It then regenerates the image by applying the visual laws of a professional render—such as physically-based rendering (PBR) characteristics, flawless material finishes, and hard-clean edges—onto the existing shape of your product.
2. Why is Gemini 2.5 Flash Image specifically recommended for this process?
While many AI models generate images, Gemini 2.5 Flash Image excels at visual analysis and geometric fidelity. To transform a photo into a CGI-quality image without distorting the actual product, the AI must strictly adhere to the input geometry. This model is capable of understanding spatial relationships from multiple angles and accurately replicating complex branding details, logos, and typography without "hallucinating" or altering the text, which is a common failure point in broader generative AI models.
3. If the AI polishes the image, why is diffused, soft lighting essential during the photo shoot?
The AI prioritizes transformation over creation. Harsh shadows, bright hot spots (specular glare), and uneven lighting in your reference photos provide bad data. If the AI detects a hard glare covering a logo, it may mistake that glare for a permanent feature of the product material. Diffused lighting ensures the AI has a clear, obstruction-free view of all labels, colors, and textures, allowing it to apply synthetic "perfect studio lighting" effectively in the final render.
4. What is the strategic purpose behind the "Six-Shot Reference Foundation"?
The AI needs comprehensive spatial data to recreate the product accurately. A front view only provides two dimensions. By supplying the front, 45-degree left/right, side, top, and back views, you provide the AI with a complete "mental map" of the product's volume and proportions. This prevents distortion in the final output. Even if you only want a front-on finished shot, the surrounding angles help the AI understand how light should curve around the edges and how deep the product actually is.
5. Why must label and texture close-ups be uploaded alongside full-product shots?
When you take a photo of the whole product, text on the label often becomes small and pixelated. If the AI relies only on that shot, the text in the final render will be blurry or illegible. Uploading ultra-sharp, frame-filling close-ups of typography, logos, and specific material textures gives the AI a high-resolution detail library. It can then "paste" these sharp details onto the final geometry with pixel-perfect accuracy, ensuring barcodes are scannable and fine print is readable.
6. How does the "Prompt Hierarchy" prevent the AI from making creative mistakes?
Without clear instructions, AI often creates a "hallucination"—it might change the wording on a label to something it thinks makes more sense. The hierarchy in the prompt acts as a logical stricture. By instructing the AI to prioritize label close-ups for text, front views for overall shape, and additional angles for material finish, you force the AI to use specific data points for specific tasks. Explicit instructions like "do not retype, redesign, or paraphrase" kill the AI’s creative license, ensuring factual brand accuracy.
7. What are "Advanced Refinement Techniques" and why should they be single-purpose?
The first AI output is rarely perfect. Advanced refinement involves feeding that first output back to the AI with specific correction notes. It is vital to address only one element per iteration (e.g., only fix the shadow, then only fix the glare). If you ask for five changes at once, the AI may overcorrect one area or unintentionally alter an element that was already correct. Single-purpose adjustments maintain the integrity of the base composition while gradually increasing the polish.
8. How do you distinguish between a professional AI render and an amateur one during quality control?
There are three main "tells" of amateur digital work that this process aims to eliminate:
- Edges: Amateur work has "jaggies" (stair-stepping) or halos around the product. A professional render has perfectly smooth, anti-aliased contours.
- Shadows: Amateur objects look like they are floating or are harshly "cut out." Professional renders use soft contact shadows that naturally diffuse outward, grounding the product on the surface.
- Typography: In professional work, label text follows the curvature of the packaging perfectly and remains crisp. Amateur AI work often results in warped or wavy text.
9. Why is a specific focal length (50–85 mm equivalent) recommended in the prompt guidelines?
Smartphone cameras often use wide-angle lenses by default, which creates "barrel distortion" (objects close to the lens look unnaturally bulbous and the edges warp). Traditional product photography uses telephoto focal lengths (50mm to 85mm) because they compress the image, making the product proportions look natural and flattering. By instructing the AI to use this focal length, you are telling it to correct any inherent wide-angle distortion present in your input photos.
10. How does retaining the prompt log and reference set future-proof a brand?
Consistency is king in branding. If you update your packaging or add a new flavor to a product line six months from now, you need the new images to match the lighting, camera angle, and shadow density of your current images. By saving your comprehensive base prompt and your original reference set, you can duplicate the exact environmental conditions for the new product, ensuring a cohesive look across your e-commerce marketplace or website.